

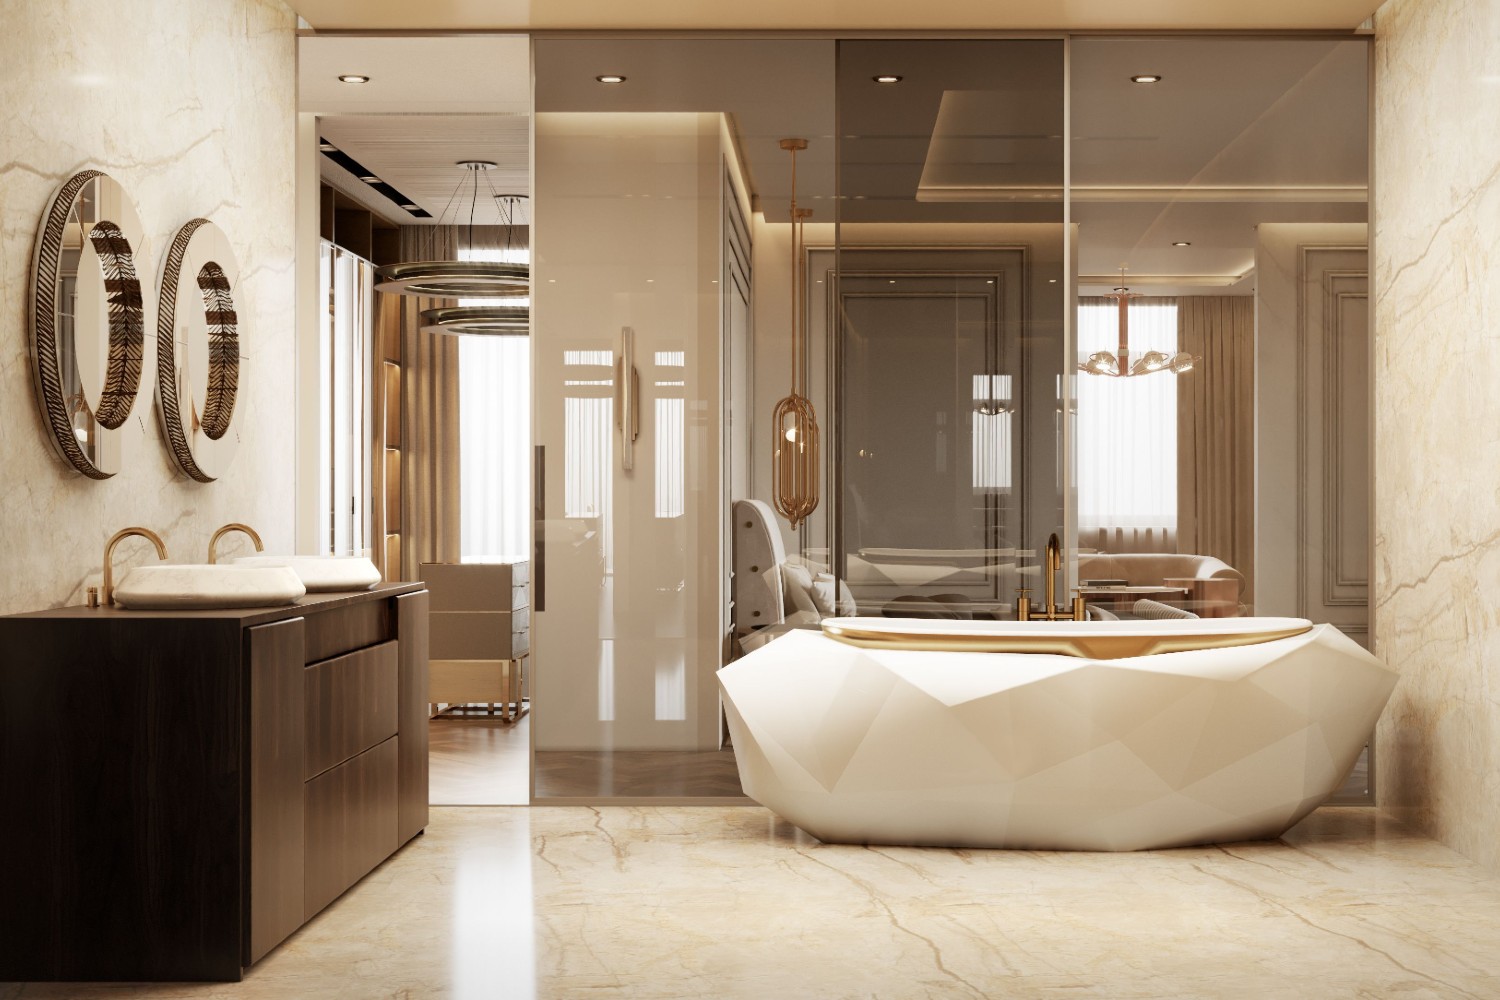
Designing a functional and visually appealing bathroom requires balancing spatial efficiency, building codes, moisture management, and personal style. Whether remodeling a compact powder room or building a expansive primary suite, proper layout planning ensures the space remains safe, accessible, and comfortable for daily use. This guide covers essential clearance standards, floor plan configurations, fixture selection strategies, and key architectural considerations for creating an optimized bathroom.
Strategic Space Planning and Clearance Standards
Successful bathroom layout planning relies on adherence to minimum spacing standards. Proper clearances prevent collisions, facilitate easy cleaning, and ensure compliance with local building codes.
-
Toilet Clearance: Standard codes require a minimum of 15 inches from the centerline of the toilet to any adjacent wall or fixture. A spacing allowance of 18 inches from the centerline provides superior physical comfort. In front of the toilet, maintain at least 21 inches of clear walkway space, though 30 inches is recommended for optimal accessibility.
-
Vanity and Sink Spacing: Single-sink vanities require a minimum width of 24 inches, while comfortable double vanities generally require at least 60 to 72 inches. Leave at least 30 inches of clear space in front of the vanity to allow individuals to stand, bend, and open drawers without obstruction.
-
Shower and Tub Enclosures: Standard shower footprints measure 36 by 36 inches at minimum, though 48 by 36 inches or larger offers a far more comfortable experience. Standard alcove bathtubs measure 60 inches long by 30 to 32 inches wide. Ensure a minimum entry clearance of 24 inches for swing doors or curbless walk-in entries.
-
Door Swing Pathways: Bathroom entry doors should ideally swing into the room against an unused wall. If interior space is severely restricted, opt for an outward-swinging door or a pocket door to avoid standard layout bottlenecks.
Core Bathroom Layout Configurations
The structural layout of a bathroom usually depends on room dimensions, existing plumbing locations, and budget parameters. Consolidation of plumbing lines along a shared wall significantly reduces construction costs.
The Single-Wall Layout
In a single-wall configuration, the vanity, toilet, and shower or bathtub align along one long wall. This setup isolates all supply and drainage lines to a single plumbing stack.
-
Best Suited For: Narrow spaces, long powder rooms, and budget-conscious renovations.
-
Key Advantages: Highly economical due to centralized plumbing installation; maximizes floor space along the opposite wall for circulation.
-
Potential Drawbacks: Can feel linear or cramped if the room lacks adequate width.
The Two-Wall Layout
A two-wall layout splits fixtures across two opposing or adjacent walls. Commonly, the vanity and toilet sit along one wall while the shower or tub occupies the opposite or adjacent side.
-
Best Suited For: Medium-sized bathrooms and standard rectangular rooms.
-
Key Advantages: Offers better traffic movement and functional zones; allows for larger vanities or standalone soaking tubs.
-
Potential Drawbacks: Requires plumbing routing through multiple wall frames, increasing overall labor and materials costs.
The Three-Wall Layout
This layout utilizes three distinct walls for the core fixtures: vanity on one wall, toilet on another, and the shower or tub setup on the third.
-
Best Suited For: Spacious primary bathrooms and luxury master suites.
-
Key Advantages: Provides maximum separation of functional areas, allowing multiple people to use the room simultaneously with privacy.
-
Potential Drawbacks: Highest plumbing and construction complexity; requires substantial floor area to avoid vast, unused central dead space.
Fixture Selection and Zone Optimization
To create a cohesive aesthetic, coordinate fixtures by both physical footprint and visual weight.
Vanities and Storage Solutions
Vanity selection dictates the storage capacity and visual open space within the room. Floating vanities mount directly to the wall frame, leaving floor space exposed beneath. This design trick creates the optical illusion of a larger room, making it an ideal choice for compact layouts. Floor-mounted vanities maximize interior storage capacity, accommodating plumbing cutouts while offering deep drawers for linens, toiletries, and cleaning supplies.
Shower versus Bathtub Configurations
Determining whether to install a shower, a tub, or a combination unit depends on household needs and available square footage.
-
Curbless Walk-in Showers: Eliminating the bottom threshold creates seamless floor transitions, improving accessibility and making small bathrooms feel dramatically larger.
-
Freestanding Soaking Tubs: These serve as dramatic focal points in larger spaces. Position freestanding tubs with at least 4 to 6 inches of cleaning clearance around all sides to ensure maintenance accessibility.
-
Alcove Tub-Shower Combos: A practical choice for secondary or family bathrooms, offering dual functionality within a standard 60-inch footprint.
Lighting Layers and Electrical Considerations
A well-designed bathroom requires layered lighting to handle both functional task needs and relaxed ambient moods. Relying on a single overhead ceiling fixture creates harsh shadows across face surfaces at the vanity mirror.
-
Task Lighting: Install sconces on either side of the vanity mirror at eye level, roughly 60 to 65 inches above the finished floor. This placement distributes balanced illumination across the face, eliminating downward shadows caused by overhead lights.
-
Ambient Lighting: Flush-mount ceiling fixtures or recessed cans provide overall general illumination across the main floor space.
-
Accent and Feature Lighting: Incorporate indirect LED strip lighting beneath floating vanities, inside shower niches, or around architectural soffits to add warmth and serve as low-intensity nightlights.
-
Electrical Safety Requirements: All electrical outlets in a bathroom environment must be protected by Ground Fault Circuit Interrupter mechanisms to prevent electrical hazards in wet conditions.
Moisture Control and Ventilation Strategies
Excess moisture causes mold growth, wood warping, and paint peeling. Proper ventilation preserves structural integrity and indoor air quality.
-
Exhaust Fan Sizing: Mechanical exhaust fans are measured in Cubic Feet per Minute. Select a fan rated for at least 1 CFM per square foot of bathroom area. For rooms over 100 square feet, calculate CFM based on the total fixture count.
-
Ducting Paths: Vent exhaust fan air directly to the home exterior via rigid metal ductwork. Never vent exhaust air into an attic, crawlspace, or floor joist cavity.
-
Waterproofing Membranes: All wet zones behind shower tile must utilize continuous waterproof membranes, such as sheet waterproofing systems or liquid-applied barriers, to prevent water intrusion into surrounding wall studs.
Frequently Asked Questions
What is the ideal height for mounting a bathroom vanity?
Standard vanity height historically measured 30 to 32 inches from the finished floor. Modern design standards favor comfort-height vanities, which measure 34 to 36 inches in height. This matches standard kitchen counter height and reduces the need to bend over while washing hands or brushing teeth.
How do I design a functional wet room layout?
A wet room consolidates the shower, freestanding tub, and floor drainage into a single fully waterproofed enclosure. To execute a wet room correctly, slope the floor toward a linear or central drain, use slip-resistant floor tiles, install wall waterproofing up to the ceiling, and ensure all electrical outlets remain completely outside the direct splash zone.
What tile slip-resistance rating should be used for bathroom floors?
For bathroom floor applications, select tiles with a Dynamic Coefficient of Friction rating of 0.42 or higher when wet. Smaller mosaic tiles with numerous grout lines also provide enhanced mechanical traction underfoot, making them ideal for shower bases.
How can I make a windowless bathroom feel bright and open?
To enhance a windowless bathroom, install high-index white or light-reflecting wall tiles, utilize large mirror surfaces, install full-spectrum LED lighting at a 3000K to 4000K color temperature, and incorporate back-lit floating vanities or glass shower partitions to bounce light throughout the room.
What is the minimum recommended width for a private toilet water closet?
A dedicated, enclosed water closet room requires a minimum interior width of 36 inches and a minimum length of 60 inches. If the door swings inward, the room length must increase to prevent blocking the toilet pathway during entry and exit.
What type of paint finish works best in humid bathroom environments?
Satin, semi-gloss, or specialized mold-resistant bath paint finishes perform best in bathrooms. These non-porous finishes resist moisture absorption, tolerate frequent wiping down, and block steam infiltration far better than flat or matte interior wall paints.
How high should shower wall tile extend?
Shower tile should extend a minimum of 3 inches above the showerhead height, though tiling all the way to the ceiling provides superior moisture protection and creates a clean, custom appearance that visually elevates the room height.

Comments are closed.